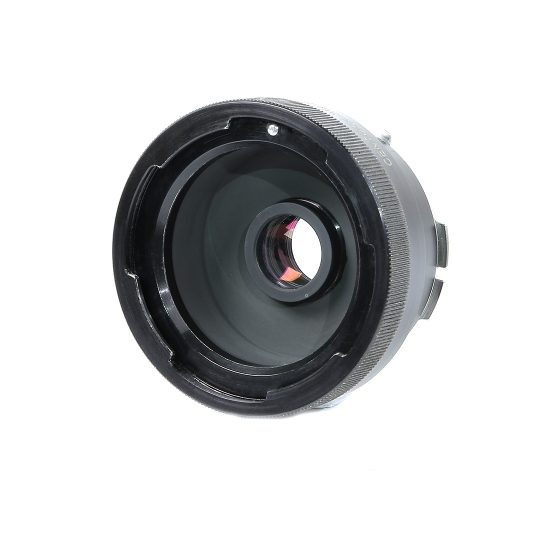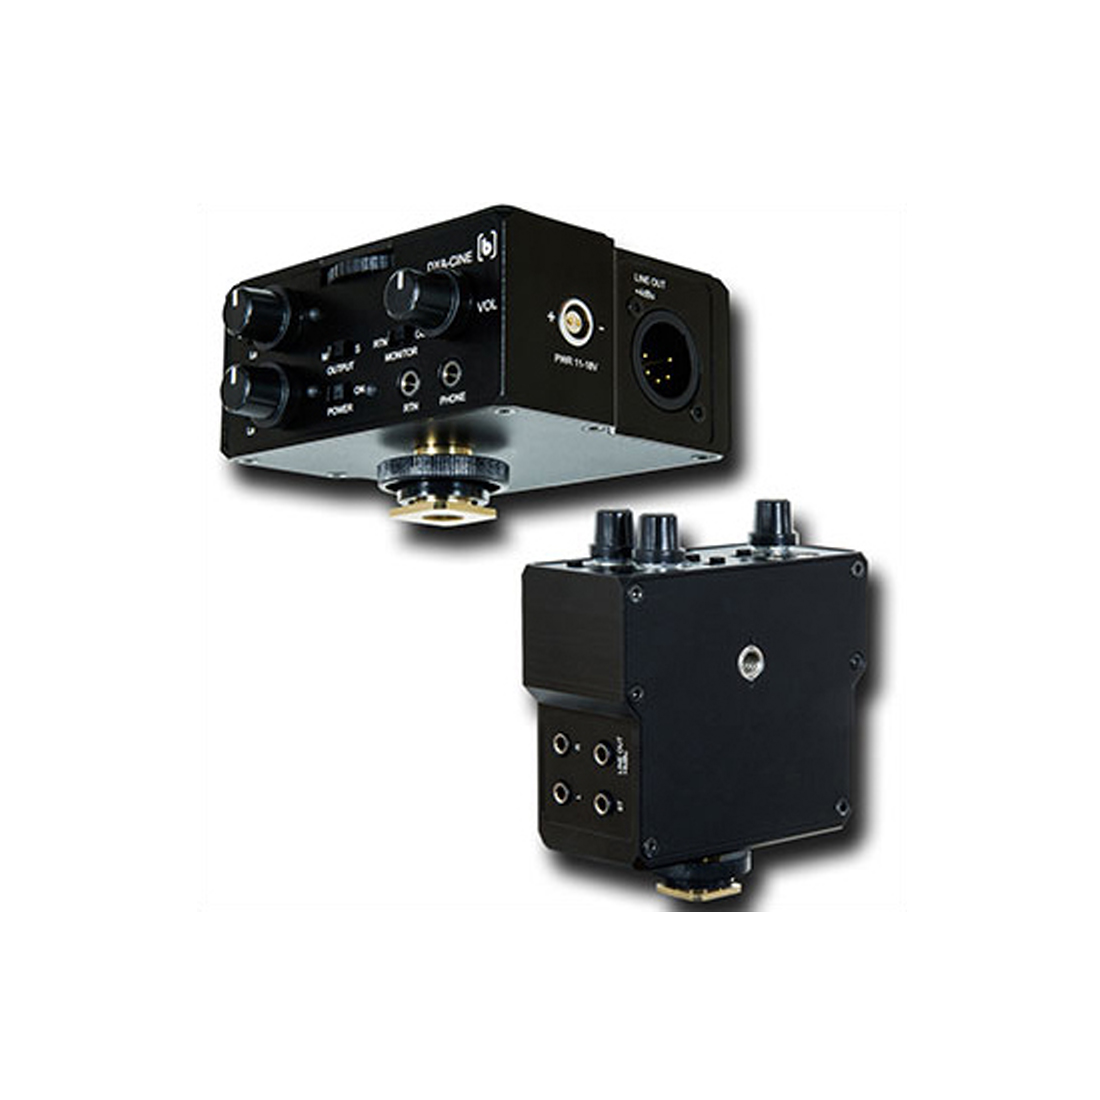
Beachtek DXA-CINE Preamplifier for ALEXA Mini/Mini-LF & Red Cameras
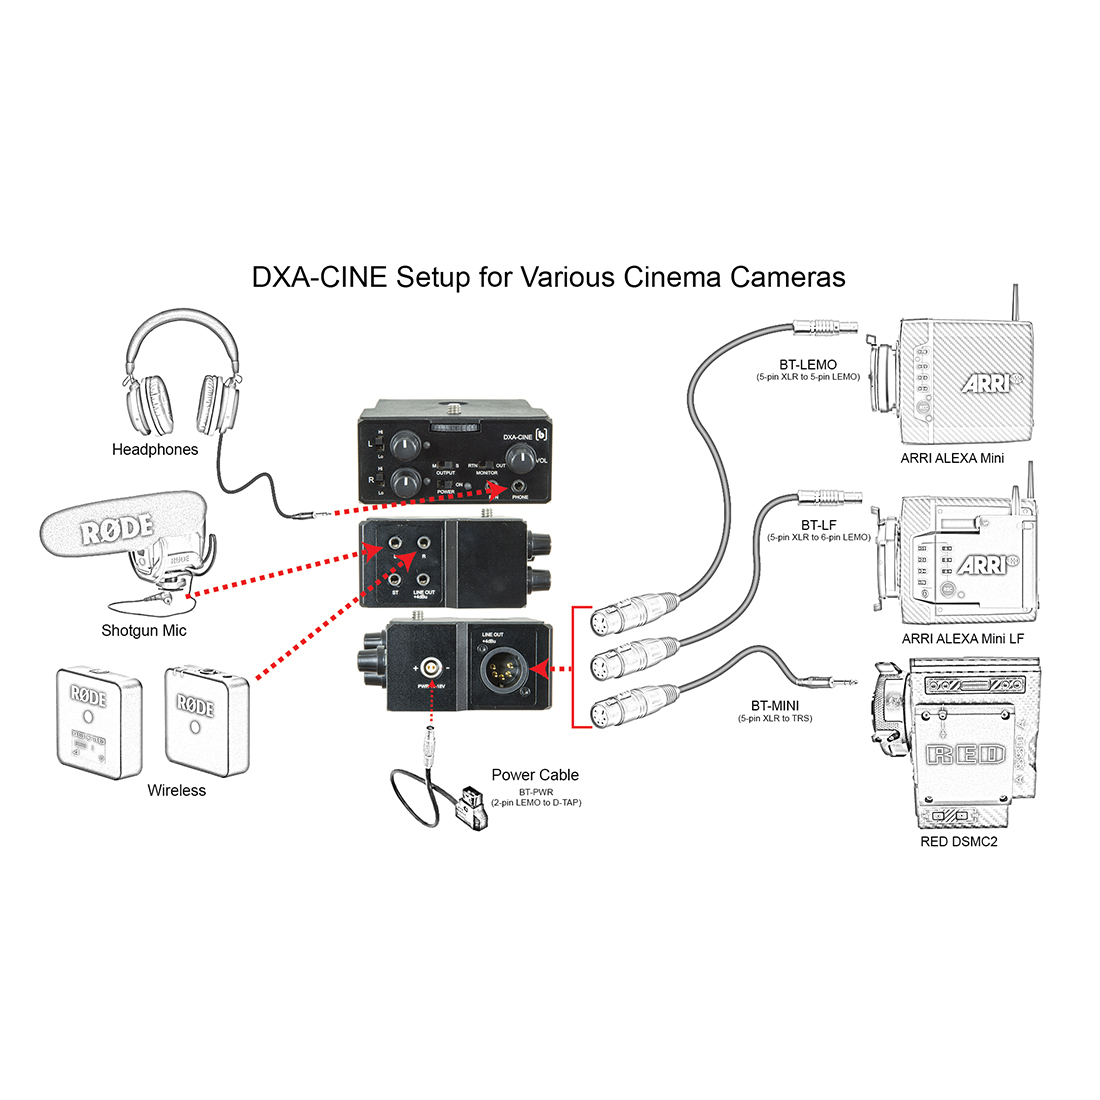
Record high-quality audio directly to your cinema camera – no syncing required. Ideal for the RED DSCM2, ARRI ALEXA Mini or new ARRI ALEXA Mini LF cameras. Compact chassis easily mounts to the camera. Externally powered via a 2-pin LEMO connector.
Product Highlights
– Ideal for Mini-Plug Microphones
– Built-in Low/Good/Over level indicators
– +4dBu balanced 5-pin XLR output
– Audio Bracketing for setting up a second channel for backup
– Powered externally via a 2-pin LEMO connector cable
– One stereo unbalanced 3.5mm jack with plug-in power
– Two unbalanced 3.5mm jacks with plug-in power
Maximum Input Levels
LO gain -15dBu
HI gain -35dBu
Output Level
+4dBu when level indicators change to red Output Clipping Level +25dBu (XLR), +21dBu (3.5mm)
Frequency Response
20Hz to 20kHz (+/- 0.5dB) THD+N
Lo Gain: 0.013% (+4dBu output, 1kHz)
Hi Gain: 0.08% (+4dBu output, 1kHz)
Dynamic Range
100dB
Gain
LO +40dB
HI +60dB
Plug-in Power
3.5 volts on all mini-jack mic inputs
Level Indicators
Green: -40dBu to -16dBu (low)
Yellow: -16dBu to +4dBu (normal)
Red: +4dBu (over)
External Power
11-18 volt via 2-pin Lemo Pin 1 = (-), Pin 2 = (+)
Dimensions
3.54″ x 3″ x 1.57″ (L x W x H) (90 mm x 76 mm x 40 mm)
Weight
10.2 oz. (0.29 kg)
Technical Assistance
Playback Monitoring: To monitor audio from the camera during playback use another SC35 cable (TRS Output Cable). Connect this cable between the phone out on the camera (if it has this feature) and the RTN Jack on the adapter. Set the MONITOR switch to RTN. You can now playback the clip and hear the audio through your headphones connected to PHONE output on the adapter.
Audio Bracketing: Audio Bracketing is a simply a technique of setting a secondary channel at a lower level to use as a backup in case the primary channel gets blown out from an overly hot signal. This can be used anytime a single mono mic is being used with the adapter. It is very easy to do:
1) Plug the mic into any input which will be the primary channel.
2) Set the OUTPUT switch to M for MONO.
3) Adjust the primary channel level as usual.
4) Adjust the other secondary channel at a somewhat lower level
between 10 and 20dB.